彻底搞懂Java多线程(一)
Java多线程
线程的创建
1.继承Thread
2.实现Runnable
3.实现Callable
使用继承Thread类来开发多线程的应用程序在设计上是有局限性的,因为Java是单继承。
继承Thread类
public class ThreadDemo1 {
    // 继承Thread类 写法1
    static class MyThread extends Thread{
        @Override
        public void run() {
            //要实现的业务代码
        }
    }
    // 写法2
    Thread thread = new Thread(){
        @Override
        public void run() {
            //要实现的业务代码
        }
    };
}
实现Runnable接口
//实现Runnable接口 写法1
class MyRunnable implements Runnable{
    @Override
    public void run() {
        //要实现的业务代码
    }
}
//实现Runnable接口 写法2 匿名内部类
class MyRunnable2 {
    public static void main(String[] args) {
        Thread thread = new Thread(new Runnable() {
            @Override
            public void run() {
                //要实现的业务代码
            }
        });
    }
}
实现Callable接口(Callable + FutureTask 创建带有返回值的线程)
package ThreadDeom;
import java.util.concurrent.Callable;
import java.util.concurrent.ExecutionException;
import java.util.concurrent.FutureTask;
/**
 * user:ypc;
 * date:2021-06-11;
 * time: 17:34;
 */
//创建有返回值的线程 Callable + Future
public class ThreadDemo2 {
    static class MyCallable implements Callable<Integer>{
        @Override
        public Integer call() throws Exception {
            return 0;
        }
    }
    public static void main(String[] args) throws ExecutionException, InterruptedException {
        //创建Callable子对象
        MyCallable myCallable = new MyCallable();
        //使用FutureTask 接受 Callable
        FutureTask<Integer> futureTask = new FutureTask<>(myCallable);
        //创建线程并设置任务
        Thread thread = new Thread(futureTask);
        //启动线程
        thread.start();
        //得到线程的执行结果
        int num = futureTask.get();
    }
}
也可以使用lambda表达式
class ThreadDemo21{
    //lambda表达式
    Thread thread = new Thread(()-> {
        //要实现的业务代码
    });
}
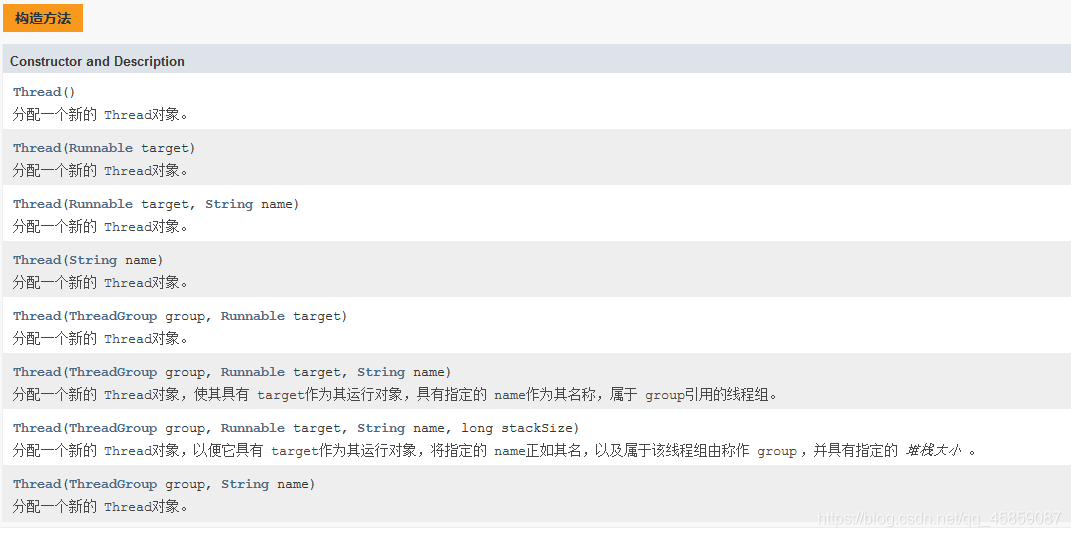
Thread的构造方法
线程常用方法
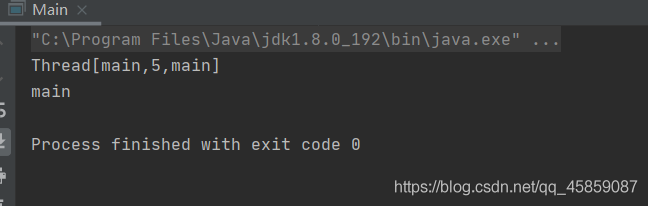
获取当前线程的引用、线程的休眠
class Main{
    public static void main(String[] args) throws InterruptedException {
        Thread.sleep(1000);
        //休眠1000毫秒之后打印
        System.out.println(Thread.currentThread());
        System.out.println(Thread.currentThread().getName());
    }
}
package ThreadDeom;
/**
* user:ypc;
* date:2021-06-11;
* time: 18:38;
*/
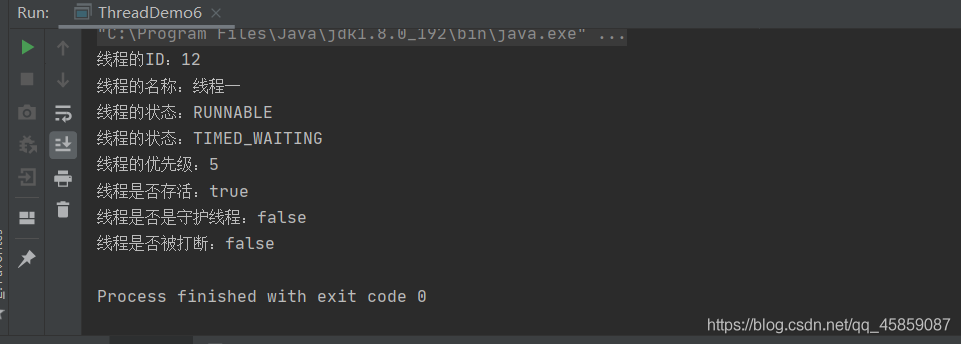
public class ThreadDemo6 {
public static void main(String[] args) throws InterruptedException {
Thread thread = new Thread(new Runnable() {
@Override
public void run() {
System.out.println("线程的ID:" + Thread.currentThread().getId());
System.out.println("线程的名称:" + Thread.currentThread().getName());
System.out.println("线程的状态:" + Thread.currentThread().getState());
try {
Thread.sleep(1000);
} catch (InterruptedException e) {
e.printStackTrace();
}
}
},"线程一");
thread.start();
Thread.sleep(100);
//打印线程的状态
System.out.println("线程的状态:"+thread.getState());
System.out.println("线程的优先级:"+thread.getPriority());
System.out.println("线程是否存活:"+thread.isAlive());
System.out.println("线程是否是守护线程:"+thread.isDaemon());
System.out.println("线程是否被打断:"+thread.isInterrupted());
}
}
线程的等待
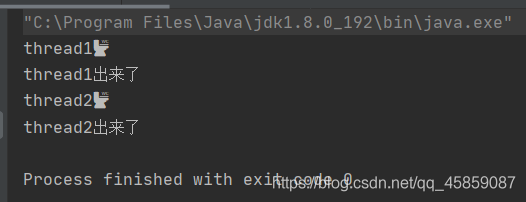
假设有一个坑位,thread1 和 thread2 都要上厕所。一次只能一个人上,thread2只能等待thread1使用完才能使用厕所。就可以使用join()方法,等待线程1执行完,thread2在去执行。👇
package ThreadDeom;
/**
 * user:ypc;
 * date:2021-06-12;
 * time: 10:48;
 */
public class ThreadDemo13 {
    public static void main(String[] args) throws InterruptedException {
        Runnable runnable = new Runnable() {
            @Override
            public void run() {
                System.out.println(Thread.currentThread().getName()+"🚾");
                try {
                    Thread.sleep(1000);
                } catch (InterruptedException e) {
                    e.printStackTrace();
                }
                System.out.println(Thread.currentThread().getName()+"出来了");
            }
        };
        Thread t1 = new Thread(runnable,"thread1");
        t1.start();
        //t1.join();
        Thread t2 = new Thread(runnable,"thread2");
        t2.start();
    }
}
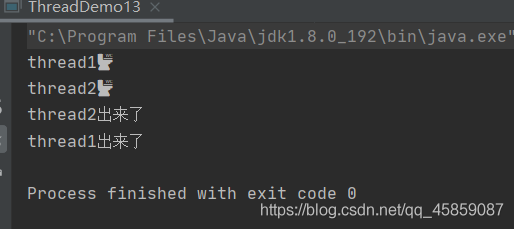
没有join()显然是不行的。加上join()之后:
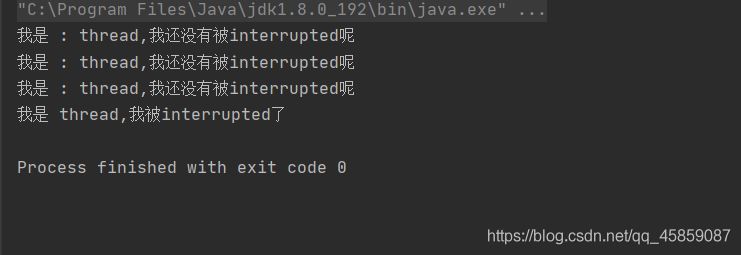
线程的终止
1.自定义实现线程的终止
package ThreadDeom;
/**
 * user:ypc;
 * date:2021-06-12;
 * time: 9:59;
 */
public class ThreadDemo11 {
    private static boolean flag = false;
    public static void main(String[] args) throws InterruptedException {
        Thread thread = new Thread(new Runnable() {
            @Override
            public void run() {
                while (!flag){
                    System.out.println("我是 : " + Thread.currentThread().getName() + ",我还没有被interrupted呢");
                    try {
                        Thread.sleep(100);
                    } catch (InterruptedException e) {
                        e.printStackTrace();
                    }
                }
                System.out.println("我是 "+Thread.currentThread().getName()+",我被interrupted了");
            }
        },"thread");
        thread.start();
        Thread.sleep(300);
        flag = true;
    }
}
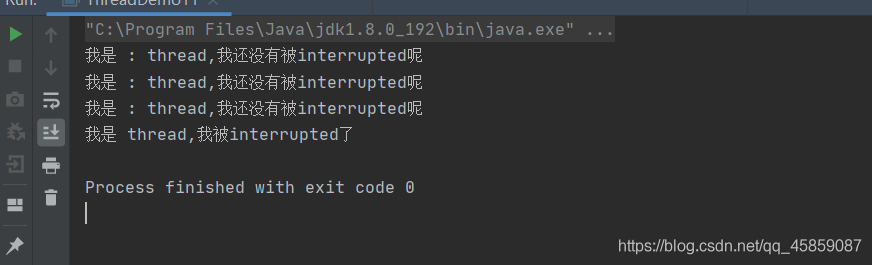
2.使用Thread的interrupted来中断
package ThreadDeom;
/**
 * user:ypc;
 * date:2021-06-12;
 * time: 9:59;
 */
public class ThreadDemo11 {
//    private static boolean flag = false;
    public static void main(String[] args) throws InterruptedException {
        Thread thread = new Thread(new Runnable() {
            @Override
            public void run() {
                while (!Thread.interrupted()){
                    System.out.println("我是 : " + Thread.currentThread().getName() + ",我还没有被interrupted呢");
                    try {
                        Thread.sleep(100);
                    } catch (InterruptedException e) {
//                        e.printStackTrace();
                        break;
                    }
                }
                System.out.println("我是 "+Thread.currentThread().getName()+",我被interrupted了");
            }
        },"thread");
        thread.start();
        Thread.sleep(300);
        thread.interrupt();
//        flag = true;
    }
}
3.Thraed.interrupted()方法和Threaed.currentThread().interrupt()的区别
Thread.interrupted()方法第一次接收到终止的状态后,之后会将状态复位,Thread.interrupted()是静态的,是全局的。
Threaed.currentThread().interrupt()只是普通的方法。
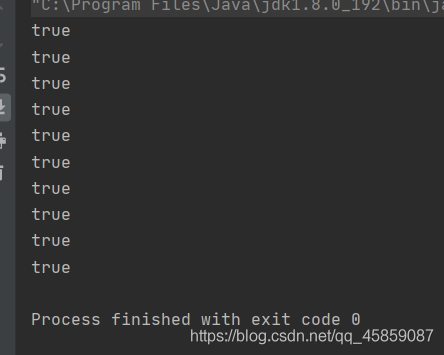
Thraed.interrupted()方法
package ThreadDeom;
/**
 * user:ypc;
 * date:2021-06-12;
 * time: 10:32;
 */
public class ThreadDemo12 {
    public static void main(String[] args) throws InterruptedException {
        Thread thread = new Thread(() ->{
            for (int i = 0; i < 10; i++) {
                System.out.println(Thread.interrupted());
            }
        });
        thread.start();
        thread.interrupt();
    }
}
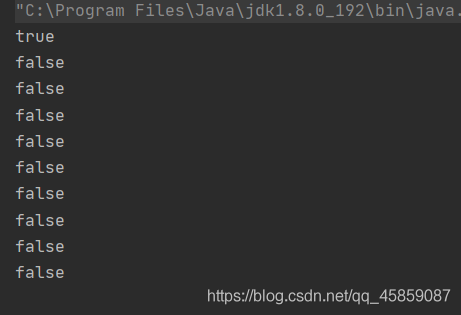
Threaed.currentThread().interrupt()
package ThreadDeom;
/**
 * user:ypc;
 * date:2021-06-12;
 * time: 10:32;
 */
public class ThreadDemo12 {
    public static void main(String[] args) throws InterruptedException {
        Thread thread = new Thread(() ->{
            for (int i = 0; i < 10; i++) {
//                System.out.println(Thread.interrupted());
                System.out.println(Thread.currentThread().isInterrupted());
            }
        });
        thread.start();
        thread.interrupt();
    }
}
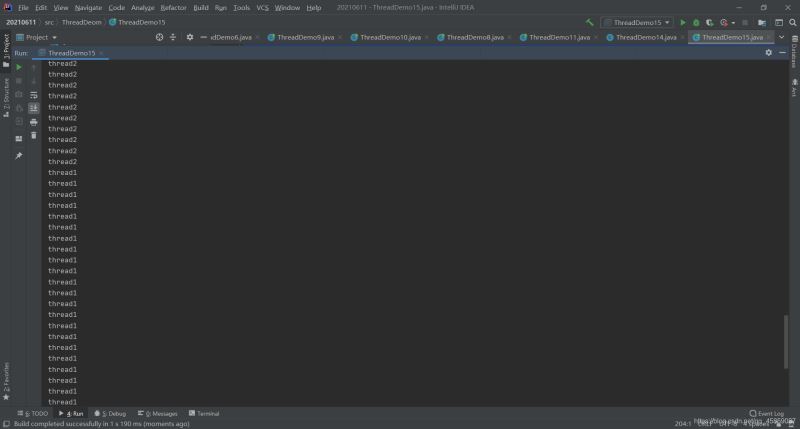
yield()方法
让出CPU的执行权
package ThreadDeom;
/**
 * user:ypc;
 * date:2021-06-12;
 * time: 11:47;
 */
public class ThreadDemo15 {
    public static void main(String[] args) {
        Thread thread1 = new Thread(() -> {
            for (int i = 0; i < 100; i++) {
                Thread.yield();
                System.out.println("thread1");
            }
        });
        thread1.start();
        Thread thread2 = new Thread(() -> {
            for (int i = 0; i < 100; i++) {
                System.out.println("thread2");
            }
        });
        thread2.start();
    }
}
线程的状态

打印出线程的所有的状态,所有的线程的状态都在枚举中。👇
package ThreadDeom;
/**
 * user:ypc;
 * date:2021-06-12;
 * time: 11:06;
 */
public class ThreadDemo14 {
    public static void main(String[] args) {
        for (Thread.State state: Thread.State.values()) {
            System.out.println(state);
        }
    }
}
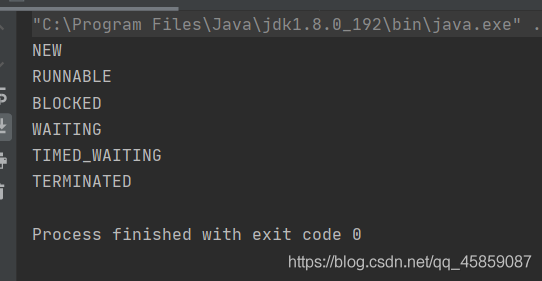
NEW创建了线程但是还没有开始工作RUNNABLE正在Java虚拟机中执行的线程BLOCKED受到阻塞并且正在等待某个监视器的锁的时候所处的状态WAITTING无限期的等待另一个线程执行某个特定操作的线程处于这个状态TIME_WAITTING有具体等待时间的等待TERMINATED已经退出的线程处于这种状态
package ThreadDeom;
/**
* user:ypc;
* date:2021-06-12;
* time: 11:06;
*/
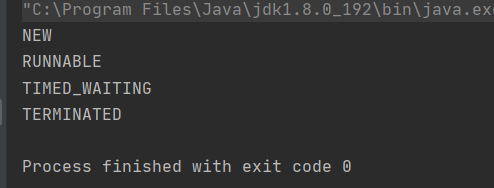
class TestThreadDemo{
public static void main(String[] args) throws InterruptedException {
Thread thread = new Thread(new Runnable() {
@Override
public void run() {
try {
Thread.sleep(2000);
} catch (InterruptedException e) {
e.printStackTrace();
}
}
});
System.out.println(thread.getState());
thread.start();
System.out.println(thread.getState());
Thread.sleep(100);
System.out.println(thread.getState());
thread.join();
System.out.println(thread.getState());
}
}
线程的优先级
在Java中线程 的优先级分为1 ~ 10 一共十个等级
package ThreadDeom;
/**
 * user:ypc;
 * date:2021-06-11;
 * time: 21:22;
 */
public class ThreadDemo9 {
    public static void main(String[] args) {
        for (int i = 0; i < 5; i++) {
            Thread t1 = new Thread(new Runnable() {
                @Override
                public void run() {
                    System.out.println("t1");
                }
            });
            //最大优先级
            t1.setPriority(10);
            t1.start();
            Thread t2 = new Thread(new Runnable() {
                @Override
                public void run() {
                    System.out.println("t2");
                }
            });
            //最小优先级
            t2.setPriority(1);
            t2.start();
            Thread t3 = new Thread(new Runnable() {
                @Override
                public void run() {
                    System.out.println("t3");
                }
            });
            t3.setPriority(1);
            t3.start();
        }
    }
}
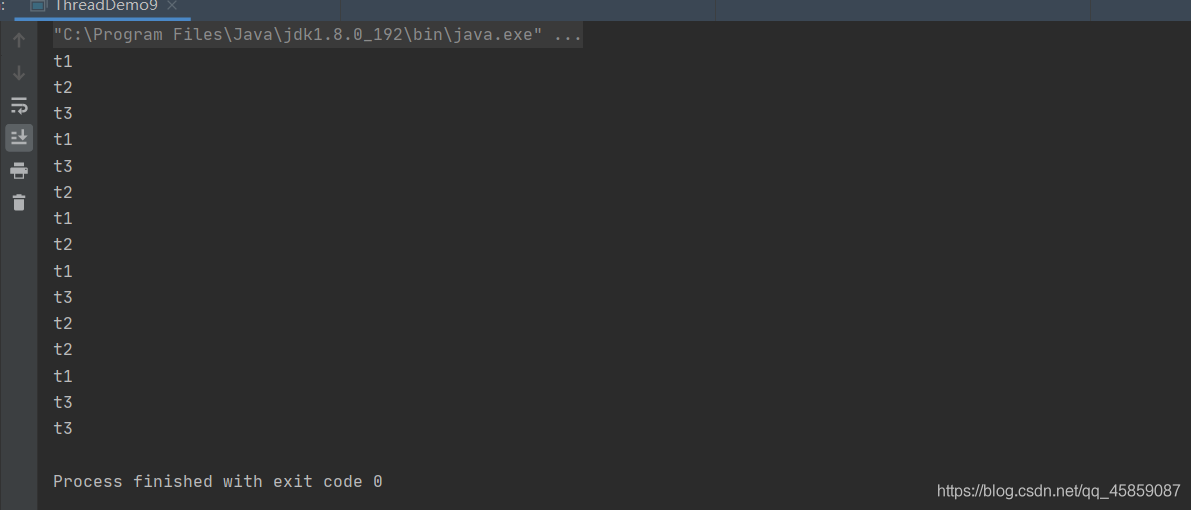
线程的优先级不是绝对的,只是给程序的建议。
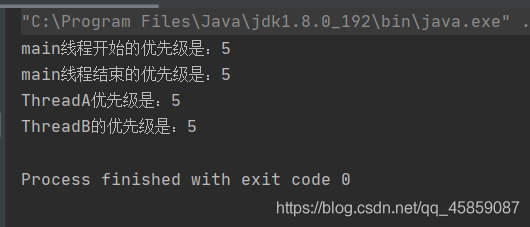
线程之间的优先级具有继承的特性,如果A线程启动了B线程,那么B的线程的优先级与A是一样的。👇
package ThreadDeom;
/**
 * user:ypc;
 * date:2021-06-11;
 * time: 20:46;
 */
class ThreadA extends Thread{
    @Override
    public void run() {
        System.out.println("ThreadA优先级是:" + this.getPriority());
        ThreadB threadB = new ThreadB();
        threadB.start();
    }
}
class ThreadB extends ThreadA{
    @Override
    public void run() {
        System.out.println("ThreadB的优先级是:" + this.getPriority());
    }
}
public class ThreadDemo7 {
    public static void main(String[] args) {
        System.out.println("main线程开始的优先级是:" + Thread.currentThread().getPriority());
        System.out.println("main线程结束的优先级是:" + Thread.currentThread().getPriority());
        ThreadA threadA = new ThreadA();
        threadA.start();
    }
}
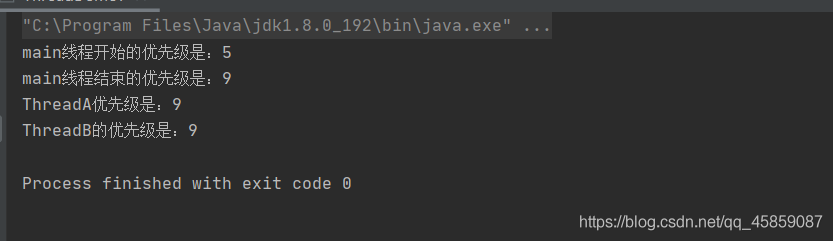
再看👇
package ThreadDeom;
/**
 * user:ypc;
 * date:2021-06-11;
 * time: 20:46;
 */
class ThreadA extends Thread{
    @Override
    public void run() {
        System.out.println("ThreadA优先级是:" + this.getPriority());
        ThreadB threadB = new ThreadB();
        threadB.start();
    }
}
class ThreadB extends ThreadA{
    @Override
    public void run() {
        System.out.println("ThreadB的优先级是:" + this.getPriority());
    }
}
public class ThreadDemo7 {
    public static void main(String[] args) {
        System.out.println("main线程开始的优先级是:" + Thread.currentThread().getPriority());
        Thread.currentThread().setPriority(9);
        System.out.println("main线程结束的优先级是:" + Thread.currentThread().getPriority());
        ThreadA threadA = new ThreadA();
        threadA.start();
    }
}
结果为👇
守护线程
Java中有两种线程:一种是用户线程,一种就是守护线程。
什么是守护线程?守护线程是一种特殊的线程,当进程中不存在用户线程的时候,守护线程就会自动销毁。典型的守护线程就是垃圾回收线程,当进程中没有了非守护线程,则垃圾回收线程也就没有存在的必要了。
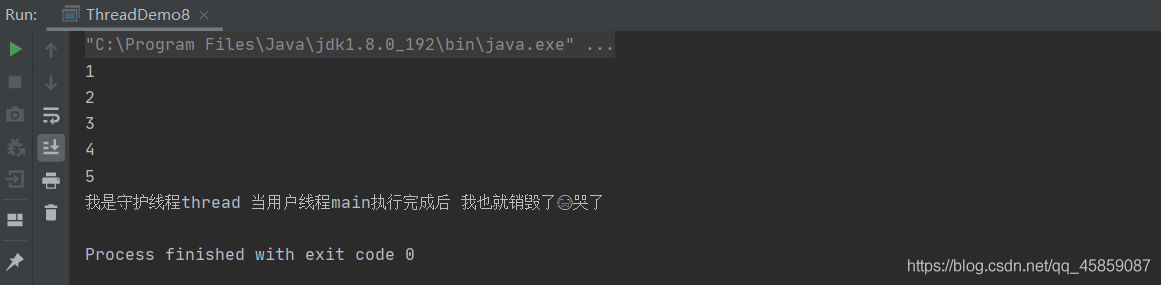
Daemon线程的作用就是为其他线程的运行提供便利的。👇
package ThreadDeom;
/**
 * user:ypc;
 * date:2021-06-11;
 * time: 21:06;
 */
public class ThreadDemo8 {
    static private int i = 0;
    public static void main(String[] args) throws InterruptedException {
        Thread thread = new Thread(new Runnable() {
            @Override
            public void run() {
                while (true){
                    i++;
                    System.out.println(i);
                    try {
                        Thread.sleep(1000);
                    } catch (InterruptedException e) {
                        e.printStackTrace();
                    }
                }
            }
        });
        //设置守护线程
        thread.setDaemon(true);
        thread.start();
        Thread.sleep(5000);
        System.out.println("我是守护线程thread 当用户线程执行完成后 我也就销毁了😭哭了");
    }
}
注意:守护线程的设置必须放在start()之前,否则就会报错。

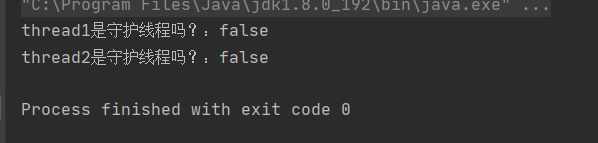
在守护线程中创建的线程默认也是守护线程。
package ThreadDeom;
/**
 * user:ypc;
 * date:2021-06-12;
 * time: 9:35;
 */
public class ThreadDemo10 {
    public static void main(String[] args) {
        Thread thread1 = new Thread(()->{
            Thread thread2 = new Thread(() -> {
            },"thread2");
            System.out.println("thread2是守护线程吗?:" + thread2.isDaemon());
        },"thread1");
        System.out.println("thread1是守护线程吗?:" + thread1.isDaemon());
        //thread1.setDaemon(true);
        thread1.start();
       // System.out.println("thread1是守护线程吗?:" + thread1.isDaemon());
    }
}
再看👇
package ThreadDeom;
/**
 * user:ypc;
 * date:2021-06-12;
 * time: 9:35;
 */
public class ThreadDemo10 {
    public static void main(String[] args) {
        Thread thread1 = new Thread(()->{
            Thread thread2 = new Thread(() -> {
            },"thread2");
            System.out.println("thread2是守护线程吗?:" + thread2.isDaemon());
        },"thread1");
        System.out.println("thread1是守护线程吗?:" + thread1.isDaemon());
        thread1.setDaemon(true);
        thread1.start();
        System.out.println("thread1是守护线程吗?:" + thread1.isDaemon());
    }
}

线程组
为了便于对某些具有相同功能的线程进行管理,可以把这些线程归属到同一个线程组中,线程组中既可以有线程对象,也可以有线程组,组中也可以有线程。使用线程模拟赛跑
public class ThreadDemo5 {
    //线程模拟赛跑(未使用线程分组)
    public static void main(String[] args) {
        Thread t1 = new Thread(new Runnable() {
            @Override
            public void run() {
                try {
                    Thread.sleep(1000);
                } catch (InterruptedException e) {
                    e.printStackTrace();
                }
                System.out.println(Thread.currentThread().getName() + "到达了终点");
            }
        }, "选手一");
        Thread t2 = new Thread(new Runnable() {
            @Override
            public void run() {
                try {
                    Thread.sleep(1200);
                } catch (InterruptedException e) {
                    e.printStackTrace();
                }
                System.out.println(Thread.currentThread().getName() + "到达了终点");
            }
        }, "选手二");
        t1.start();
        t2.start();
        System.out.println("所有选手到达了终点");
    }
}
运行结果:
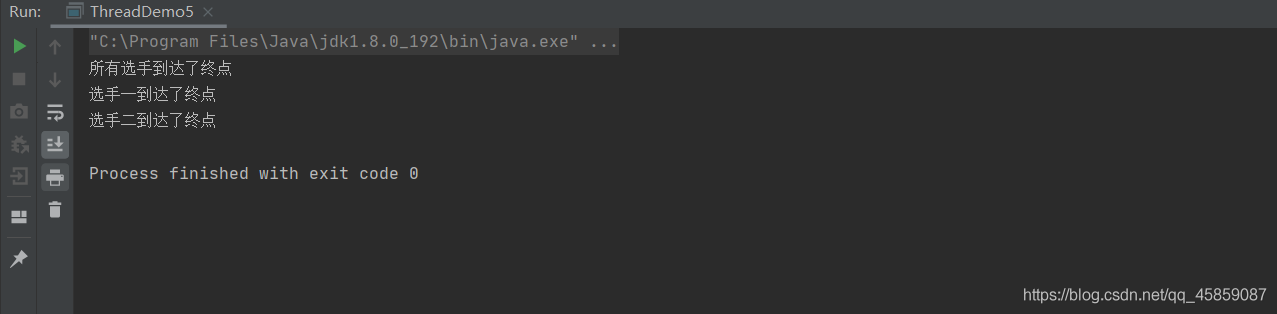
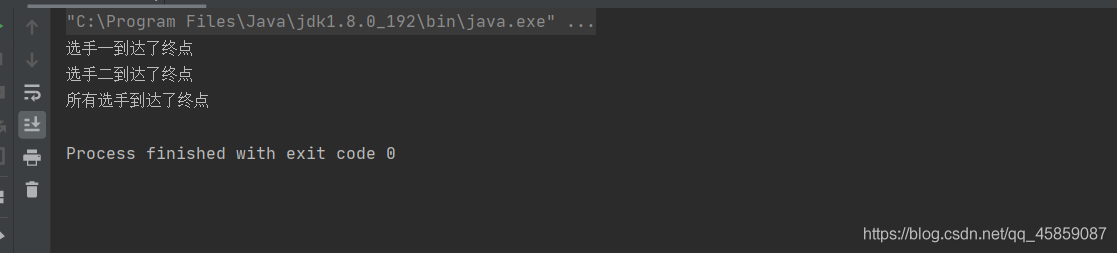
不符合预期效果,就可以使用线程组来实现
package ThreadDeom;
/**
 * user:ypc;
 * date:2021-06-11;
 * time: 18:24;
 */
class ThreadGroup1 {
    //线程分组模拟赛跑
    public static void main(String[] args) {
        ThreadGroup threadGroup = new ThreadGroup("Group");
        Thread t1 = new Thread(threadGroup, new Runnable() {
            @Override
            public void run() {
                try {
                    Thread.sleep(1000);
                } catch (InterruptedException e) {
                    e.printStackTrace();
                }
                System.out.println("选手一到达了终点");
            }
        });
        Thread t2 = new Thread(threadGroup, new Runnable() {
            @Override
            public void run() {
                try {
                    Thread.sleep(1200);
                } catch (InterruptedException e) {
                    e.printStackTrace();
                }
                System.out.println("选手二到达了终点");
            }
        });
        t2.start();
        t1.start();
        while (threadGroup.activeCount() != 0) {
        }
        System.out.println("所有选手到达了终点");
    }
}
线程组常用的方法

线程安全问题
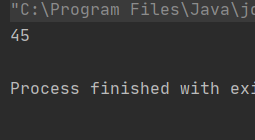
来看单线程情况下让count分别自增和自减10000次
package ThreadDeom;
/**
 * user:ypc;
 * date:2021-06-12;
 * time: 12:03;
 */
class Counter {
    private static int count = 0;
    public void increase(){
        for (int i = 0; i < 10000; i++) {
            count++;
        }
    }
    public void decrease(){
        for (int i = 0; i < 10000; i++) {
            count--;
        }
    }
    public int getCount(){
        return count;
    }
}
public class ThreadDemo16 {
    public static void main(String[] args) {
        //单线程
        Counter counter = new Counter();
        counter.increase();
        counter.decrease();
        System.out.println(counter.getCount());
    }
}
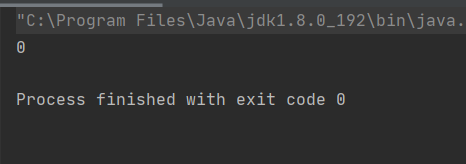
结果符合预期
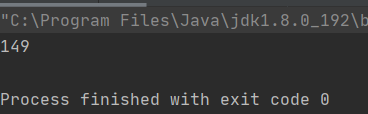
如果想使程序的执行速度快,就可以使用多线程的方式来执行。在来看多线程情况下的问题
public class ThreadDemo16 {
    public static void main(String[] args) throws InterruptedException {
        //多线程情况下
        Counter counter = new Counter();
        Thread thread1 = new Thread(()->{
            counter.decrease();
        });
        Thread thread2 = new Thread(()->{
            counter.increase();
        });
        thread1.start();
        thread2.start();
        thread1.join();
        thread2.join();
        System.out.println(counter.getCount());
                /*
        //单线程
        Counter counter = new Counter();
        counter.increase();
        counter.decrease();
        System.out.println(counter.getCount());
         */
    }
}
执行结果:

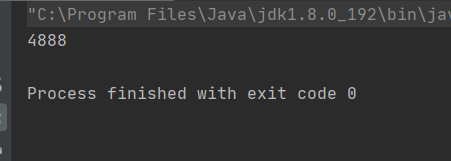

每次的执行结果是不一样的。这就是多线程的不安全问题
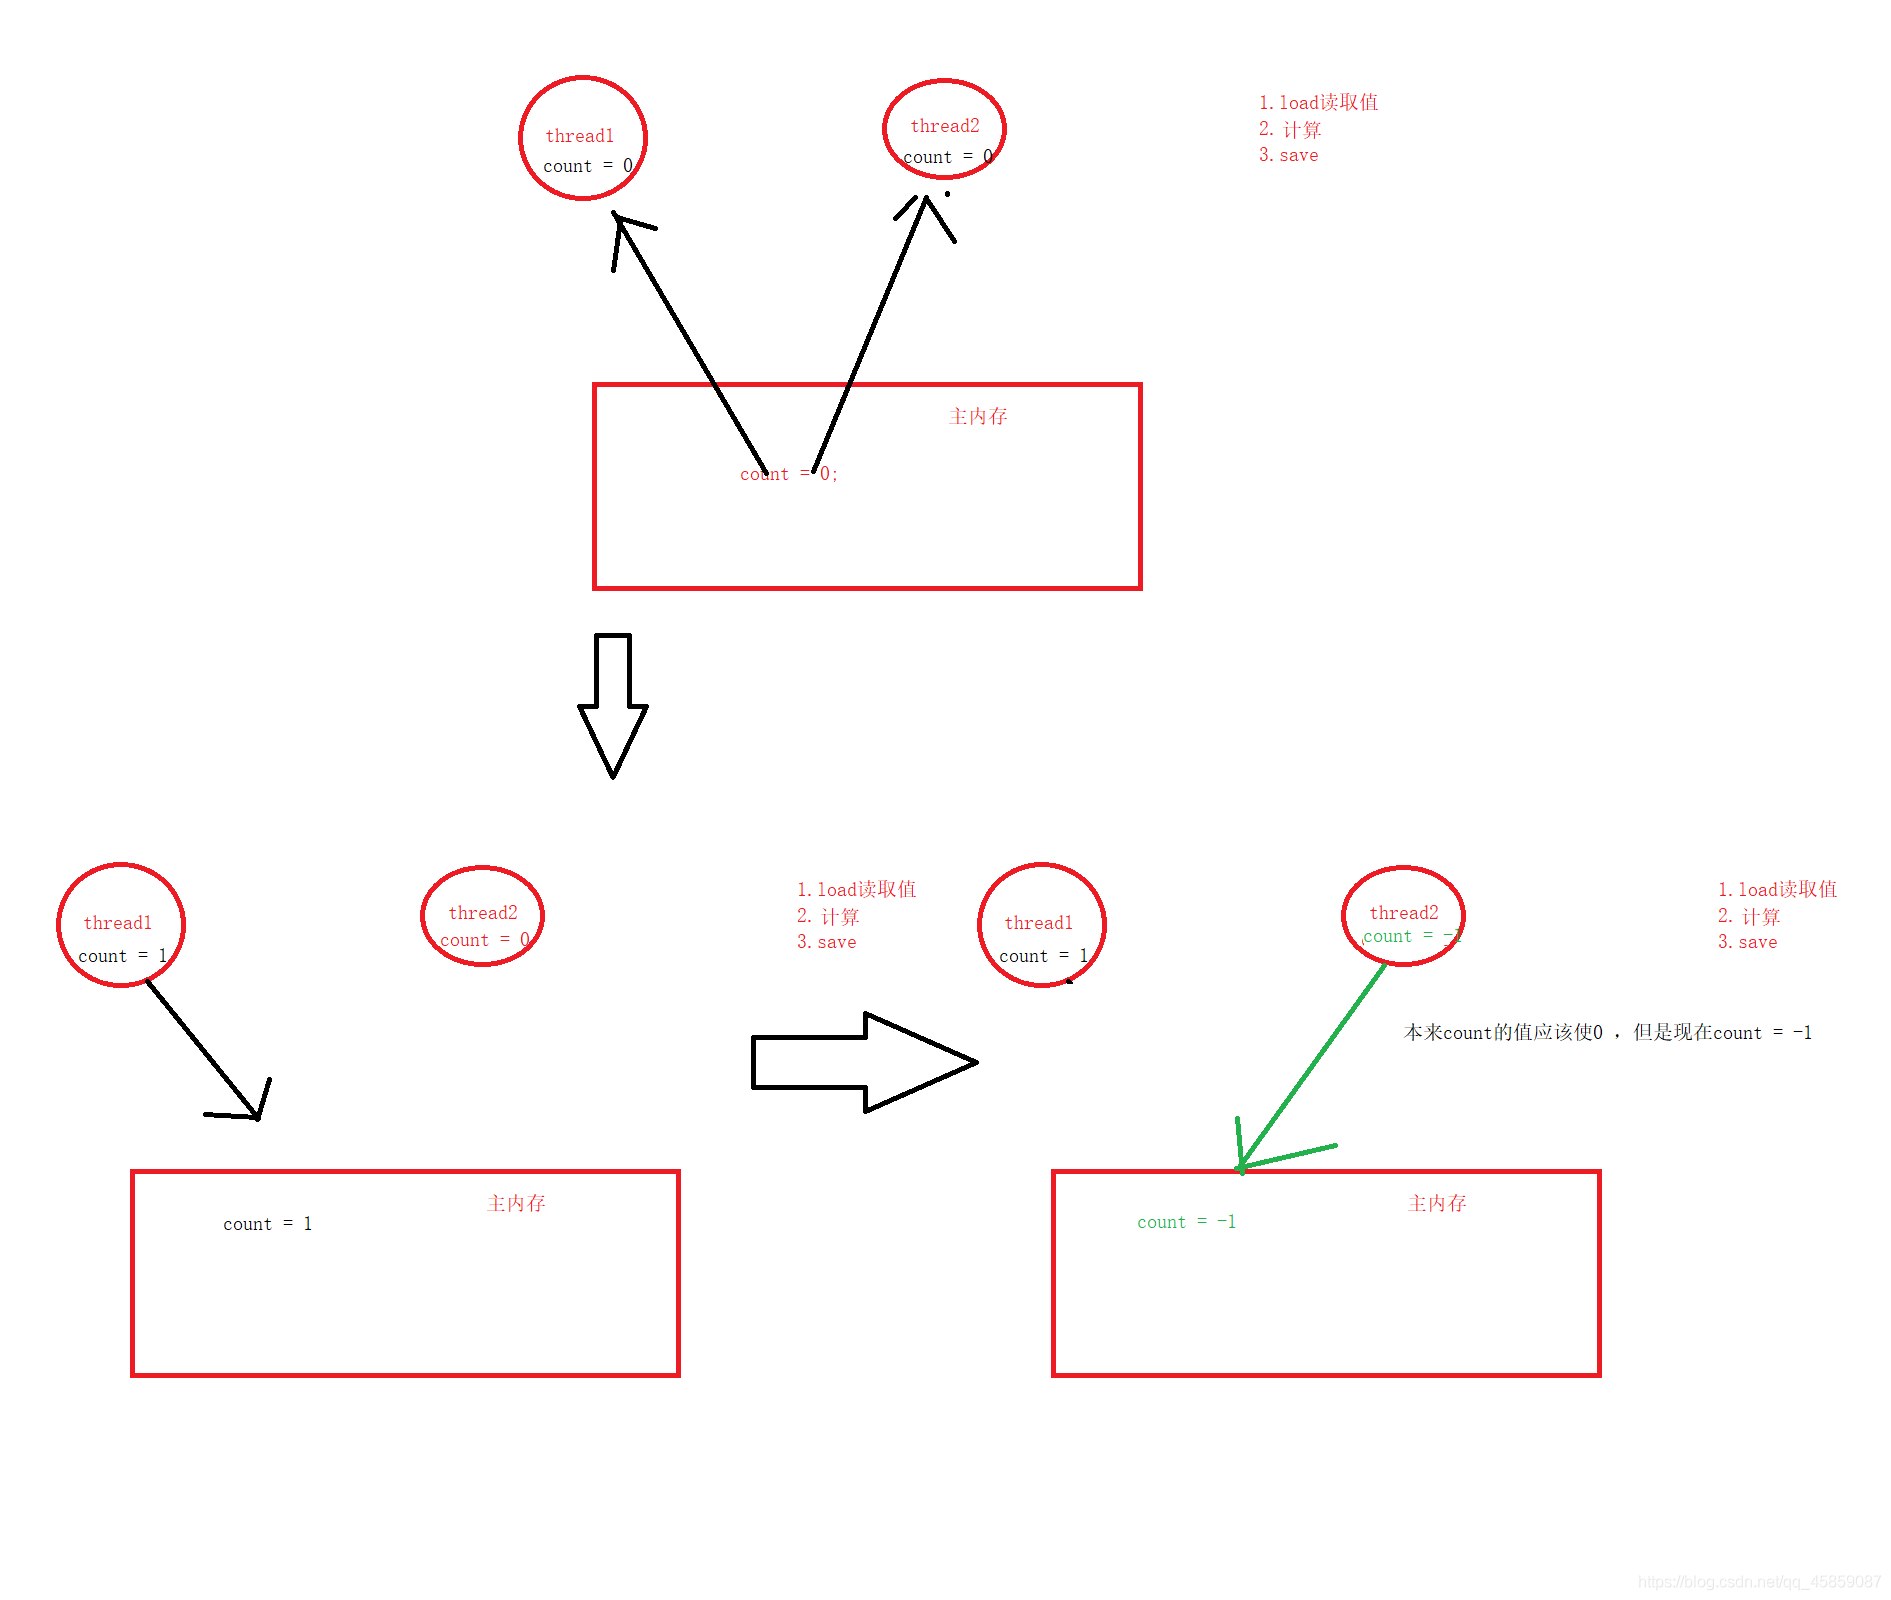
预期的结果是0,但结果却不是。线程不安全问题的原因:
- 1.CPU的抢占式执行
- 2.多个线程共同操作一个变量
- 3.内存可见性
- 4.原子性问题
- 5.编译器优化(指令重排)
多个线程操作同一个变量
如果多个线程操作的不是一个变量,就不会发生线程的不安全问题,可以将上面的代码修改如下:👇
public class ThreadDemo16 {
    static int res1 = 0;
    static int res2 = 0;
    public static void main(String[] args) throws InterruptedException {
        Counter counter = new Counter();
        Thread thread1 = new Thread(new Runnable() {
            @Override
            public void run() {
                res1 = counter.getCount();
            }
        });
        Thread thread2 = new Thread(new Runnable() {
            @Override
            public void run() {
                res2 = counter.getCount();
            }
        });
        System.out.println(res1 + res2);
/*
        //多线程情况下
        Counter counter = new Counter();
        Thread thread1 = new Thread(()->{
            counter.decrease();
        });
        Thread thread2 = new Thread(()->{
            counter.increase();
        });
        thread1.start();
        thread2.start();
        thread1.join();
        thread2.join();
        System.out.println(counter.getCount());
        */
                /*
        //单线程
        Counter counter = new Counter();
        counter.increase();
        counter.decrease();
        System.out.println(counter.getCount());
         */
    }
}
这样就可以了:

内存不可见问题:看下面的代码,是不是到thread2执行的时候,就会改变num的值,从而终止了thread1呢?
package ThreadDeom;
import java.util.Scanner;
/**
 * user:ypc;
 * date:2021-06-12;
 * time: 13:03;
 */
public class ThreadDemo17 {
    private static int num = 0;
    public static void main(String[] args) {
        Thread thread1 = new Thread(new Runnable() {
            @Override
            public void run() {
                while (num == 0){}
            }
        });
        thread1.start();
        Thread thread2 = new Thread(new Runnable() {
            @Override
            public void run() {
                Scanner scanner = new Scanner(System.in);
                System.out.println("输入一个数字来终止线程thread1");
                num = scanner.nextInt();
            }
        });
        thread2.start();
    }
}
结果是不能的:
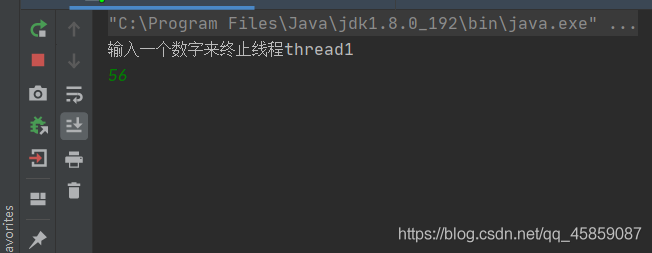
输入一个数字后回车,并没有让thread1的循环结束。这就是内存不可见的问题。
原子性的问题
上面的++和–操作其实是分三步来执行的

假设在第二部的时候,有另外一个线程也来修改值,那么就会出现脏数据的问题了。
所以就会发生线程的不安全问题
编译器优化编译器的优化会打乱原本程序的执行顺序,就有可能导致线程的不安全问题发生。在单线程不会发生线程的不安全问题,在多线程就可能会不安全。
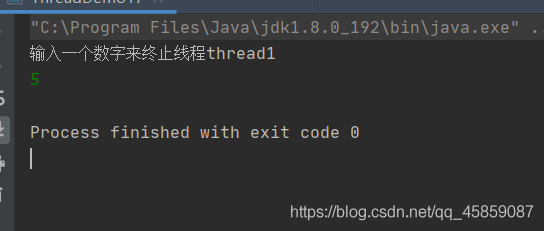
volatile关键字
可以使用volatile关键字,这个关键字可以解决指令重排和内存不可见的问题。

加上volatile关键字之后的运行结果
但是volatile关键字不能解决原子性的问题👇:
package ThreadDeom;
/**
 * user:ypc;
 * date:2021-06-12;
 * time: 14:02;
 */
class Counter1 {
    private static volatile int count = 0;
    public void increase() {
        for (int i = 0; i < 10000; i++) {
            count++;
        }
    }
    public void decrease() {
        for (int i = 0; i < 10000; i++) {
            count--;
        }
    }
    public int getCount() {
        return count;
    }
}
public class ThreadDemo18 {
    public static void main(String[] args) throws InterruptedException {
        Counter1 counter1 = new Counter1();
        Thread thread1 = new Thread(new Runnable() {
            @Override
            public void run() {
                counter1.decrease();
            }
        });
        Thread thread2 = new Thread(() -> {
            counter1.increase();
        });
        thread1.start();
        thread2.start();
        thread1.join();
        thread2.join();
        System.out.println(counter1.getCount());
    }
}
总结
本篇文章就到这里,希望可以帮到你,也希望您能够多多关注猪先飞的其他文章!
相关文章
- 这篇文章主要介绍了如何利用java语言实现经典《复杂迷宫》游戏,文中采用了swing技术进行了界面化处理,感兴趣的小伙伴可以动手试一试...2022-02-01
C# WinForm多线程解决界面卡死问题的完美解决方案,使用BeginInvoke
问题描述:当我们的界面需要在程序运行中不断更新数据时,当一个textbox的数据需要变化时,为了让程序执行中不出现界面卡死的现像,最好的方法就是多线程来解决一个主线程来创建界...2020-06-24java 运行报错has been compiled by a more recent version of the Java Runtime
java 运行报错has been compiled by a more recent version of the Java Runtime (class file version 54.0)...2021-04-01- 这篇文章主要介绍了在java中获取List集合中最大的日期时间操作,具有很好的参考价值,希望对大家有所帮助。一起跟随小编过来看看吧...2020-08-15
- 这篇文章主要介绍了教你怎么用Java获取国家法定节假日,文中有非常详细的代码示例,对正在学习java的小伙伴们有非常好的帮助,需要的朋友可以参考下...2021-04-23
- 这篇文章主要介绍了Java如何发起http请求的实现,文中通过示例代码介绍的非常详细,对大家的学习或者工作具有一定的参考学习价值,需要的朋友们下面随着小编来一起学习学习吧...2021-03-31
- 说起C#和Java这两门语言(语法,数据类型 等),个人以为,大概有90%以上的相似,甚至可以认为几乎一样。但是在工作中,我也发现了一些细微的差别...2020-06-25
- 这篇文章主要介绍了解决Java处理HTTP请求超时的问题,具有很好的参考价值,希望对大家有所帮助。一起跟随小编过来看看吧...2021-03-29
- 这篇文章主要介绍了c# 多线程处理多个数据的方法,帮助大家更好的理解和学习使用c#,感兴趣的朋友可以了解下...2021-03-31
- 这篇文章主要介绍了java 判断两个时间段是否重叠的案例,具有很好的参考价值,希望对大家有所帮助。一起跟随小编过来看看吧...2020-08-15
java 画pdf用itext调整表格宽度、自定义各个列宽的方法
这篇文章主要介绍了java 画pdf用itext调整表格宽度、自定义各个列宽的方法,具有很好的参考价值,希望对大家有所帮助。一起跟随小编过来看看吧...2021-01-31- 这篇文章主要介绍了超简洁java实现双色球若干注随机号码生成(实例代码),本文通过实例代码给大家介绍的非常详细,对大家的学习或工作具有一定的参考借鉴价值,需要的朋友可以参考下...2021-04-02
- 这篇文章主要介绍了Java生成随机姓名、性别和年龄的实现示例,文中通过示例代码介绍的非常详细,对大家的学习或者工作具有一定的参考学习价值,需要的朋友们下面随着小编来一起学习学习吧...2020-10-01
- 这篇文章主要介绍了C#基于委托实现多线程之间操作的方法,实例分析了C#的委托机制与多线程交互操作的相关技巧,具有一定参考借鉴价值,需要的朋友可以参考下...2020-06-25
- 这篇文章主要介绍了java正则表达式判断前端参数修改表中另一个字段的值,需要的朋友可以参考下...2021-05-07
Java使用ScriptEngine动态执行代码(附Java几种动态执行代码比较)
这篇文章主要介绍了Java使用ScriptEngine动态执行代码,并且分享Java几种动态执行代码比较,需要的朋友可以参考下...2021-04-15- 这篇文章主要介绍了Java开发实现人机猜拳游戏,文中示例代码介绍的非常详细,具有一定的参考价值,感兴趣的小伙伴们可以参考一下...2020-08-03
- 这篇文章主要介绍了C#多线程中的异常处理操作,涉及C#多线程及异常的捕获、处理等相关操作技巧,需要的朋友可以参考下...2020-06-25
- 这篇文章主要介绍了Java List集合返回值去掉中括号('[ ]')的操作,具有很好的参考价值,希望对大家有所帮助。一起跟随小编过来看看吧...2020-08-29
Java 8 Stream 的终极技巧——Collectors 功能与操作方法详解
这篇文章主要介绍了Java 8 Stream Collectors 功能与操作方法,结合实例形式详细分析了Java 8 Stream Collectors 功能、操作方法及相关注意事项,需要的朋友可以参考下...2020-05-20